Transparent PNG device mockups for landing pages
Export 3D device mockups as transparent PNGs for landing pages—backdrop none in Mewix, JPG vs PNG trade-offs, and placing shots on brand colors.
By Mewix · October 12, 2026 · 7 min read
Landing pages rarely want a phone floating on a baked-in gray studio sweep. Designers usually need the device alone—bezel, screen, soft shadow if any—so the site’s own brand color, gradient, or photo can sit behind it. That means exporting a mockup with a transparent background, almost always as PNG, then placing it in HTML, Figma, Framer, or a CMS image block.
This guide explains when transparent device mockups help, how backdrop None works in the Mewix editor, how JPG and PNG differ for this job, and how to place the export on brand colors without muddy edges.
Why transparency matters for device shots
A mockup with a solid backdrop locks you into that color. Change the site theme next quarter and you re-export every hero. A transparent PNG lets one asset ride:
- Light and dark landing variants
- Seasonal campaign colors
- Section backgrounds that scroll or fade
- Blog headers that reuse the same phone on different posts
Transparency also keeps file intent clear: the PNG is the product, not a full scene. Scenes with HDRI environments are great for one-off marketing art; they are awkward when the marketing site already has its own atmosphere.
| Export style | Flexibility on the site | Typical format |
|---|---|---|
| Solid color backdrop | Low—tied to that hex | PNG or JPG |
| Gradient / HDRI scene | Low—scene is the background | PNG or JPG |
| Transparent backdrop | High—site owns the background | PNG (alpha) |
How backdrop None works in Mewix
In the 3D mockup editor, the Background panel offers three backdrop modes:
| Mode | What you see | What exports |
|---|---|---|
| Color | Solid or preset color behind the device | Opaque backdrop in the image |
| HDRI | Environment lighting / sky-style backdrop | Scene included (not transparent) |
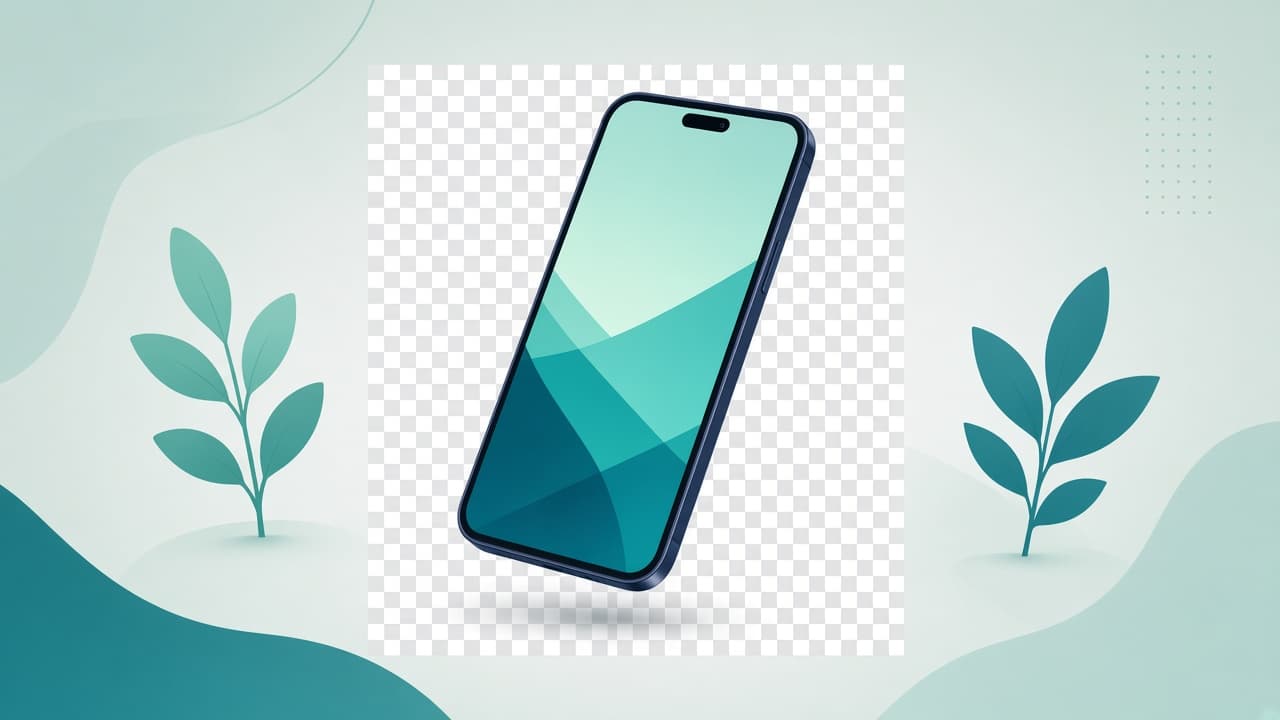
| None | Checkerboard in the preview | Transparent pixels around the device |
The checkerboard is preview-only. It exists so you can see where alpha will appear; it is not painted into the download. When backdrop mode is None, the canvas clears with zero alpha so the exported PNG keeps transparent regions around the phone or laptop.
Steps to export a transparent device PNG
- Open mockups or go straight to the editor.
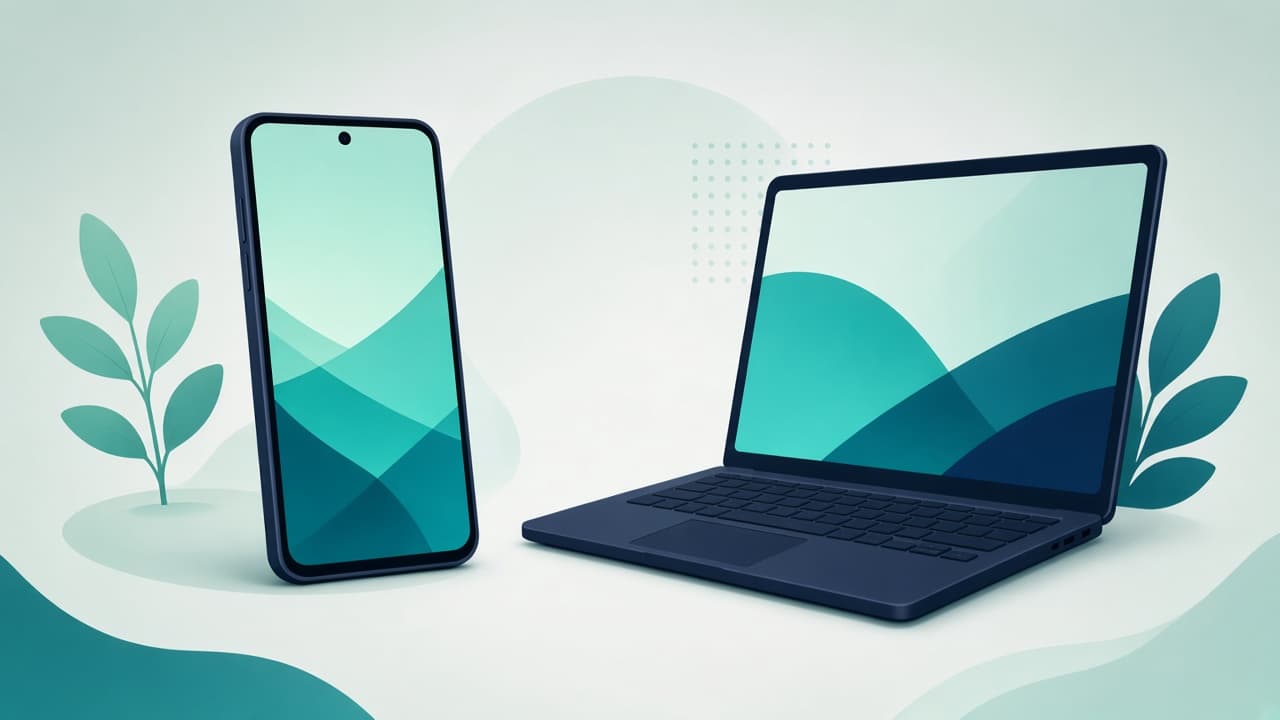
- Choose a device—Google Pixel 9 Pro XL for phone UI or Samsung Galaxy Book 2 for laptop UI.
- Drop your screenshot onto the screen.
- Set camera and lighting the way you want the product shot to feel.
- In Background, select None.
- Confirm the preview shows a checkerboard around the device (not a solid studio color).
- Export a PNG. Prefer PNG whenever you need alpha; JPG cannot store transparency.
Processing stays in the browser for the core flow, so unreleased screenshots do not need to upload for this still export.
JPG vs PNG for mockups
| Format | Transparency | Best for | Watch-outs |
|---|---|---|---|
| PNG | Yes (alpha) | Transparent devices, UI-heavy screens, crisp edges | Larger files than JPG at similar pixel size |
| JPG | No | Full-bleed scenes with opaque backdrops, social posts that allow a baked background | Softens fine UI; no alpha channel |
When JPG is fine
If the mockup already includes a solid brand color or a finished HDRI scene, and you will never composite it onto another background, JPG can shrink the download. Mewix can export JPG for opaque shots. If you export JPG while the backdrop was transparent, expect a forced opaque clear (commonly white)—do not treat that as a transparent asset.
When PNG is required
- Any placement over a CSS background, gradient, or photo
- Dark-mode and light-mode reuse of the same file
- Email or CMS templates that layer the phone over section colors
- Design handoff where the next person will recolor the page
For landing heroes, default to PNG with backdrop None unless you have a measured performance reason to bake the background and switch to JPG/WebP later in the site pipeline.
Placing transparent mockups on brand colors
Match light direction to the page
A mockup lit from the left looks odd sitting on a page whose photography is lit from the right. Soft, neutral lighting in the editor travels better across many brand palettes. Extreme colored gels in the 3D scene will tint screen reflections and can fight the brand hex behind the device.
Mind contrast at the bezel
Dark phones on near-black heroes disappear. Light silver devices on pale sand backgrounds lose edges. After you drop the PNG into the layout:
- Check contrast between bezel and section background
- Add a very soft page-level shadow in CSS if the device needs lift—do not confuse that with baking a hard drop shadow into the PNG unless you want it permanent
- Avoid putting busy patterned backgrounds directly behind dense UI; the screen content needs to win
Leave breathing room
Orbit the camera so the device does not kiss the PNG’s crop edges. Transparent margins make layout easier: you can scale the image without clipping the antenna lines or laptop corners. If the crop is tight, CSS object-fit will feel harsh.
Scale for performance and sharpness
Export at a size close to the largest display width you need (retina hero, then downscale in the site build if needed). A tiny PNG upscaled on a 1440px hero looks soft; a 4K PNG used as a 320px mobile thumb wastes bandwidth. Capture the screenshot itself at high resolution before it hits the device screen—perspective already challenges fine text.
Landing-page composition patterns
Centered hero: one transparent phone over a brand gradient, with the headline beside or above the screen—not covering UI. Split layout: copy on one half, device on the other, centers aligned. Feature strip: two or three consistent-angle devices above short titles. Dark band: transparent PNG over charcoal; soften editor lighting so highlights do not blow out.
One clear device usually reads stronger than a collage of overlapping phones in the first viewport.
Workflow tips inside the editor
Use a temporary Color backdrop to judge exposure, then switch to None for the final PNG. Skip opaque HDRI in the frame when the site should own the background. Re-check screen content after orbiting—extreme angles crop UI. Leave helper grids out of the export.
Common problems and fixes
White box around the phone: you exported JPG, or backdrop was Color/HDRI—switch to None and PNG. Checkerboard in the file: should not happen (preview-only); use the editor export, not a browser screenshot. Halos on dark backgrounds: prefer clean alpha from the editor and add shadow in CSS. Muddy UI: start from a crisp source capture. File too large: resize the PNG to display size, or composite onto the real background first and then use a smaller opaque format in the build pipeline.
Honest limits
Transparent exports solve compositing; they do not replace art direction. Mewix focuses on still browser device shots with an Android-first set (Pixel and Galaxy Book)—not motion video or a lifestyle-scene marketplace. Store listings often still prefer flat frames for maximum UI readability. Use transparent 3D PNGs where marketing wants depth.
Quick checklist
- Backdrop set to None in the editor
- Export format is PNG
- Preview checkerboard is only in the UI, not needed in the file
- Device has padding inside the crop
- Lighting works on both light and dark brand sections (or you exported two variants)
- Screenshot source is sharp enough for slight perspective
- Page placement preserves contrast at the bezel
Bottom line
For landing pages, export the device with a transparent background so brand colors stay in the site, not in the mockup file. In Mewix, that means backdrop None, PNG export, and a checkerboard preview that does not ship in the download. Use JPG only when the backdrop is intentionally opaque. Place the PNG with enough margin, matching light, and contrast against the section color.
Start from the mockups overview or open the 3D mockup editor, drop your Android UI onto a Pixel or Galaxy Book, clear the backdrop, and export a transparent product shot ready for the page.