Play Store screenshot mockups: prepare listing images that read clearly
Prepare Google Play listing screenshots with device mockups—when 3D helps vs flat frames, sizing tips, and private browser workflows for unreleased UI.
By Mewix · Updated October 12, 2026 · Published October 11, 2026 · 8 min read
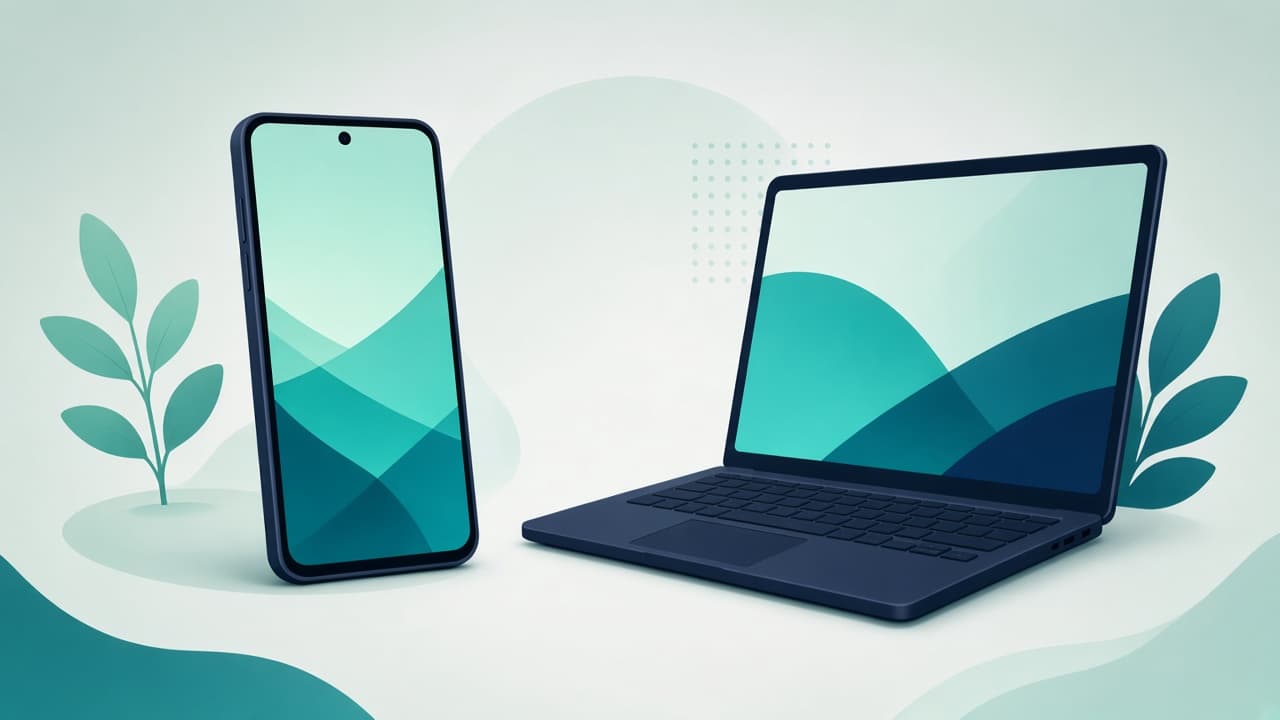
Google Play listing screenshots are often the first product demo a shopper sees. They sit beside the icon and short description, and they must work at thumbnail size while still rewarding a full-screen tap. Device mockups—flat frames or 3D product shots—can help, but the wrong style can hurt readability or leak unreleased UI to a third-party renderer.
This guide covers what listing screenshots are for, when 3D helps versus flat frames, sizing habits, and how to keep private builds private.
What Play Store screenshots are for
Listing screenshots sell the interface, not a lifestyle brand film. Shoppers scan for:
- What the app does in one glance
- Whether the UI looks modern and trustworthy
- Specific features called out with short captions (if you add text outside the device)
They are not the place for heavy perspective, tiny type, or busy backgrounds that compete with the UI. Store policies and recommended sizes change over time—always confirm current Google Play Console requirements for phone, 7-inch tablet, and 10-inch tablet graphics before you lock a campaign. This article focuses on preparation habits that stay useful even when exact pixel requirements shift.
Flat frames vs 3D mockups for listings
| Approach | Look | UI clarity | Best use |
|---|---|---|---|
| Raw screenshot | Exact UI, no bezel | Highest | Docs, bug reports, some listing slots |
| Flat device frame | Axis-aligned phone/tablet chrome | Very high | Primary Play listing set |
| 3D device mockup | Angled, lit product photo | Good but perspective softens fine type | Feature graphics, site heroes, social—not always listing grids |
When flat frames win for Play
Use flat frames when the listing grid must show every control and label. Orthographic bezels keep pixels upright. Reviewers and shoppers can read small chips, tab bars, and chart labels. Classic screenshot-frame generators and design-tool phone frames exist for this job.
Flat frames also match what users expect in the store: phones that look like phones, screens that look like screens, no dramatic camera roll.
When 3D mockups help
3D mockups shine outside the dense listing carousel—or in adjacent marketing:
- Landing-page heroes that should feel like hardware photography
- Launch posts on social where depth beats pixel-perfect docs
- Press kits and portfolio shots
- A single “hero” feature graphic where atmosphere is allowed
A tilted Pixel with soft studio light sells the product as an object. That is valuable on Mewix mockups for marketing pages. It is often the wrong default for the full Play screenshot set if captions and UI density matter more than drama.
Rule of thumb: if someone must read 12pt UI text inside the image, prefer flat. If the image’s job is “this product feels premium,” prefer 3D.
Privacy for unreleased UI
Pre-release builds, beta dashboards, and stub copy often contain partner logos, unfinished flows, or internal metrics. Before you paste a screenshot into any mockup tool, ask where the pixels go.
| Workflow | Typical privacy posture |
|---|---|
| Browser local processing (e.g. Mewix) | Screenshot stays on your device for rendering |
| Mac desktop studio apps | Files stay on the machine; still follow company backup policy |
| Upload-to-render marketplaces | Screenshot leaves your device—check retention and terms |
| Shared design clouds | Access control depends on team seating and folder permissions |
For NDA work, prefer tools that process in the browser or on a locked-down workstation. The Mewix 3D mockup editor is built around local processing for still PNGs—useful when you want a marketing still without uploading the build. For flat listing frames, apply the same rule: avoid “free” upload sites if your security policy forbids third-party storage of product UI.
Also scrub the screenshot itself: hide real emails, API keys in debug overlays, and customer names before any export leaves your laptop—even locally.
Sizing and source capture tips
Exact Play Console dimensions change; treat these as preparation habits, then verify in Console before upload.
Capture clean sources
- Use a physical device or emulator at a high logical resolution so the UI stays sharp after framing.
- Prefer the real navigation mode and system bars your users see (gesture vs three-button)—unless you crop system UI on purpose.
- Turn off developer overlays, FPS meters, and “debug” banners.
- Capture one task per shot: onboarding, home, core action, settings, or empty state—not a random mid-scroll.
Aspect ratio and safe area
- Design for the phone listing first; tablet graphics are a second pass.
- Keep critical UI away from extreme edges if you will add a caption band or rounded marketing crop later.
- Avoid ultra-wide letterboxing inside the phone screen; fill the device screen region so the UI does not look tiny.
Resize without quality surprises
If Console asks for a specific width/height and your export is close but not exact, resize deliberately rather than stretching in an upload dialog. Mewix’s image resize tool can adjust dimensions in the browser when you need a quick conform pass. Prefer resizing a finished flat listing image over upscaling a soft screenshot—start sharp, then scale down when needed.
Text outside vs text inside the UI
Many listing designs add short marketing captions outside the device frame. That keeps the UI readable and the claim scannable. Putting long marketing sentences inside the screenshot forces tiny type and hurts localization. Localize caption layers in your design tool; keep the app UI language consistent with the store listing locale.
A practical production pipeline
Step 1 — Storyboard the set
Sketch five to eight beats before you capture: value proposition, primary action, differentiator, honest results view if allowed, and optionally a trust/settings surface. Reject screens that only make sense to engineering.
Step 2 — Capture and name files
Name files by beat (01-home.png, 02-compose.png) so designers and PMs share order. Keep raw and framed folders so sources are never overwritten.
Step 3 — Choose frame style per channel
| Channel | Prefer |
|---|---|
| Play phone screenshots | Flat frames or carefully cropped raw UI |
| Play feature graphic | Flat or mild 3D—confirm current size rules |
| Website hero | 3D product shot via /mockups/editor |
| Social launch | 3D or designed Canva/Figma board |
| Support docs | Raw or flat frames |
Step 4 — Export and QA on a real phone
Preview on a mid-range Android phone: can you read primary labels at arm’s length? Do dark themes still show bezels cleanly? Does any 3D tilt hide a critical button? If QA fails, flatten the shot—do not “fix” readability with heavier drop shadows.
Using Mewix beside Play creative
Mewix is not a Play Console uploader. Use it where a lit Android device still helps marketing:
- Open the mockups overview or the editor.
- Pick Google Pixel 9 Pro XL for phone UI (or Galaxy Book 2 if you are showing a large-screen / laptop companion experience).
- Drop the same high-res screenshot you prepared for the listing.
- Soften lighting, frame with negative space, export a PNG for the website or social cut.
- Keep the Play set flat if clarity wins the store test.
This split—flat for store, 3D for site—keeps channels honest about their jobs.
Common mistakes
Avoid over-decorating listings with stickers and stacked phones—one device, clear UI, and a short caption win at thumbnail size. Match Android-looking hardware for Android listings; iPhone frames look wrong. Do not upload secret builds to random mockup sites. Play does not require 3D mockups—use them outside the listing grid when they help. Localize captions with the listing locale, and keep sharp PNG (or lightly compressed JPG) masters until the final resize.
Honest limits
Exact pixel requirements and policy wording belong in Play Console and official docs—not in a blog post. This guide does not invent conversion lift percentages. Creative quality, reviews, and ASO copy matter more than bezel style. Mewix exports still PNGs; it does not build Play listing packages or auto-crop tablet sets. Flat-frame tools and Figma/Canva boards still carry much of the listing load.
Checklist before you upload
- Console size/format rules verified for this release
- Screenshots scrubbed of private data
- Flat frames for dense UI; 3D reserved for marketing heroes if used
- Captions short, localized, and outside the UI when possible
- QA’d on a real phone at listing thumbnail scale
- Raw sources archived separately from framed exports
Bottom line
Prepare Play Store screenshots for clarity first. Use flat device frames for the listing set. Reach for 3D mockups when the same UI needs a product photo on a landing page or launch post—ideally with a private browser editor like Mewix. Resize deliberately, scrub secrets, and confirm Console requirements before you publish.
For a free Android-oriented 3D still beside the store listing, open the 3D mockup editor and export a PNG without uploading the build.